Well we moved! Into Matt's parents' basement apartment where we are very comfortable but also longing to be in our new home! Our requirements are a working toilet and shower, even if the rest of the house is a construction mess. But first we need a bathroom floor (ceramic tile, installed by Matt), and lights/fan in the bathroom. We've even determined that we can do without a bathroom vanity for now - hey we have a kitchen sink! The vanities we like are around $1,000, so we'd like to reserve our cash for the priority of getting the house siding fixed and painted.
Backing way up because I can't seem to keep up with the blog, here is Matt doing the awful job of pulling up this VCT tile in what we are calling "Michael's room" (since Michael just bought a house, it's highly improbable that he'll ever live here, but still, he has a room:
He did the same thing in the hallway - the original tile is the checkerboard near Michael's bedroom door:
I've been working on Kara and Beth's room, scraping wallpaper (that has been painted) - all of the wallpaper is now gone! It sort of looks worse than before, but here and in the master bath I will be learning how to patch and skim-coat plaster:
The purple is "before" - you can see the wallpaper peeking through to the left of the double windows:
The other room where I've been scraping is the Master Bath - I'm not quite done here, but I moved upstairs to the girls' room because Matt decided to tear down the ceiling in the kitchen and there was way too much dust down there!
Here's the green painted wallpaper coming down:
Here you can see the shower being built! Since this photo, we've decided that that wall Matt built is going to have to extend to the ceiling in order to put in electrical for the shower fan/light. Living and learning!
A "finished" wall - ready to be patched and painted! That window will be an exterior door:
I bet this wallpaper was really cute - it's what was hiding under the paint, but it has to go:
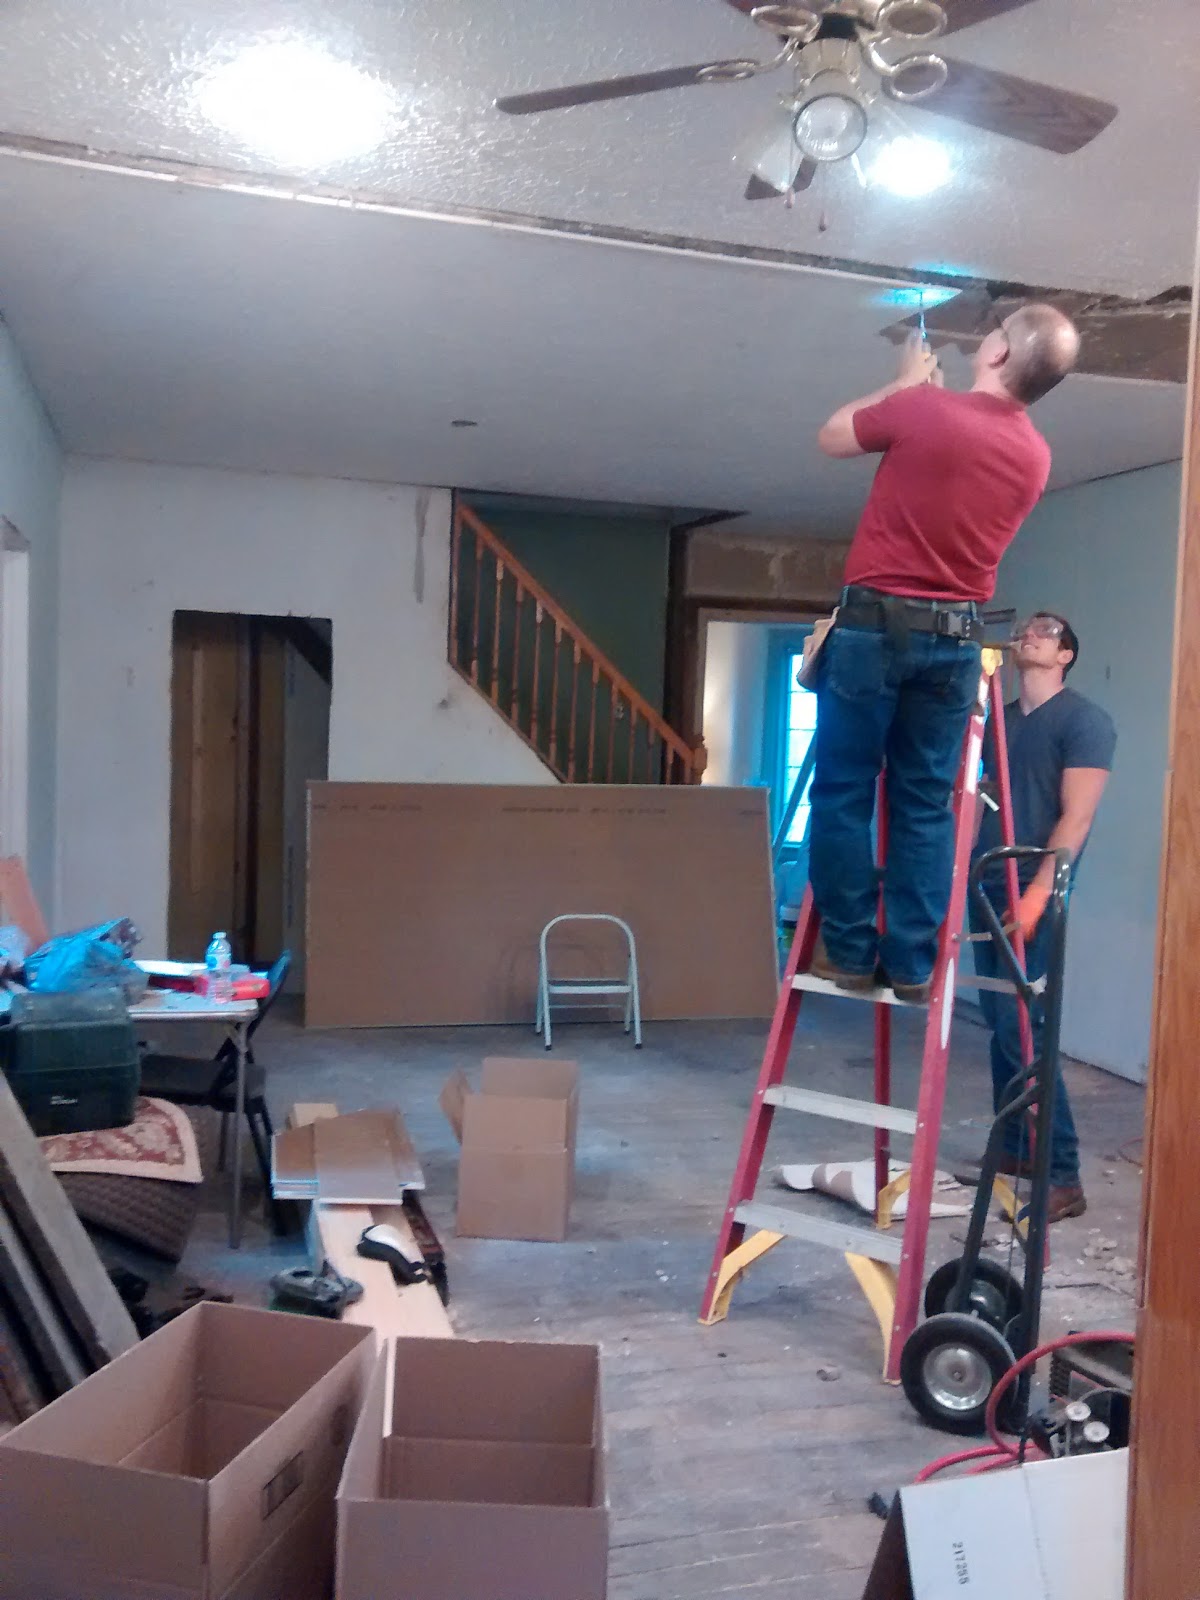
So the ceiling in the kitchen/addition was lower than the original ceiling. Matt decided to knock it down and put up new wallboard to match the ceiling heights so that it is uniform all the way across. What a mess!
This is Matt's friend Charlie helping to tear down the ceiling:
The old insulation was knee deep in the kitchen:
The new wallboard is up on the ceiling now (that's Trevor who put the wallboard up in the half-bath you can see here, and also the ceiling), except part of it is sagging in the middle. Matt and Travis have decided to climb up in the ceiling and bolster the middle with 2x6's and bolt them to the rafters (I probably have the details wrong), something Travis says, "Would have been good to do before you put that wallboard up," but we are just figuring things out as we go, so apparently we like to do it the hard way, haha.
Travis is painting those boards above and fixing the fascia and soffits on the outside of the house (the area right under the lip of the roof) so that gutters can be installed. He is painting them white with Kilz, and it's making us excited to have the whole house white when it's finally painted! Here he is working on the fascia:
That's all for now!