Friday, December 22, 2017

Patching Plaster....Durabond

After reading every possible technique for patching plaster, I have determined that there is NO consensus on how to do it right. Use mesh tape for cracks? Fiberglass tape? Paper tape or no tape at all? Plaster of Paris mixed with lime putty? Joint compound? Premixed? Or hot mud?

I decided to go with no tape, and to use Durabond 90 to fill the cracks, and then top with EasySand 45. I chose high numbers (drying time) to give myself plenty of time, and decided to start in the closet so if it turns out terrible, who cares!

Our farmhouse is filled with cracks and pitted walls...and they say the cracks will always be there but I wanted to do my best to prep the walls before painting, so here we go!

Beth and I tackled a coat of Durabond today, I'll post progress photos tomorrow!


Sunday, December 17, 2017

2 Steps Forward 1 Step Back

As I said, we are living and learning. The wallboard on the ceiling in the kitchen was just not working. On the advice of Travis, the entire ceiling has been torn down - on Monday Matt and Travis will re-insulate the ceiling and put wallboard up so that it's all uniform. Matt's on vacation this week, but this ceiling was not what he was hoping to work on. That's okay, we keep saying, the interruptions and surprises and constant projects are what this house is all about for us. :)

In bathroom news (the news I'm always most invested in because when that is complete we can MOVE IN), yesterday Matt and I got some stuff done. He extended the bathroom wall up to the ceiling, and then put up a type of wallboard that is mold and mildew resistant and meant for shower walls. It was interesting to watch him make the measurements and cut holes where he hoped the faucet and handle would go and voila, it fit perfectly! Then he drilled it into the frame. It's nearly ready to be tiled!

First though, they will drill up through the new frame into the ceiling and snake some wiring in there for a shower light and fan. I ordered the tile a few days ago - I'm a little nervous about what I chose, but I'm going with my gut that it will turn out to look cool in the end!

We keep haunting craigslist for a vanity that will work temporarily - we are looking for a 2 bowl 60 inch vanity. We'd just like to put off spending a lot right now on it, so want something we can just throw in there until we save up for a nice one. I found one for $45 and reached out to the owner, but they posted it a month ago so I'm sure it's gone! That's a pretty amazing price, wouldn't that be great if they still had it?? We will see.


Saturday, December 9, 2017

Photos Catch-up

Well we moved! Into Matt's parents' basement apartment where we are very comfortable but also longing to be in our new home! Our requirements are a working toilet and shower, even if the rest of the house is a construction mess. But first we need a bathroom floor (ceramic tile, installed by Matt), and lights/fan in the bathroom. We've even determined that we can do without a bathroom vanity for now - hey we have a kitchen sink! The vanities we like are around $1,000, so we'd like to reserve our cash for the priority of getting the house siding fixed and painted.

Backing way up because I can't seem to keep up with the blog, here is Matt doing the awful job of pulling up this VCT tile in what we are calling "Michael's room" (since Michael just bought a house, it's highly improbable that he'll ever live here, but still, he has a room:


He did the same thing in the hallway - the original tile is the checkerboard near Michael's bedroom door:

I've been working on Kara and Beth's room, scraping wallpaper (that has been painted) - all of the wallpaper is now gone! It sort of looks worse than before, but here and in the master bath I will be learning how to patch and skim-coat plaster:
The purple is "before" - you can see the wallpaper peeking through to the left of the double windows:


The other room where I've been scraping is the Master Bath - I'm not quite done here, but I moved upstairs to the girls' room because Matt decided to tear down the ceiling in the kitchen and there was way too much dust down there!
Here's the green painted wallpaper coming down:

 Here you can see the shower being built! Since this photo, we've decided that that wall Matt built is going to have to extend to the ceiling in order to put in electrical for the shower fan/light. Living and learning!

A "finished" wall - ready to be patched and painted! That window will be an exterior door:

I bet this wallpaper was really cute - it's what was hiding under the paint, but it has to go:

So the ceiling in the kitchen/addition was lower than the original ceiling. Matt decided to knock it down and put up new wallboard to match the ceiling heights so that it is uniform all the way across. What a mess!

This is Matt's friend Charlie helping to tear down the ceiling:


The old insulation was knee deep in the kitchen:


The new wallboard is up on the ceiling now (that's Trevor who put the wallboard up in the half-bath you can see here, and also the ceiling), except part of it is sagging in the middle. Matt and Travis have decided to climb up in the ceiling and bolster the middle with 2x6's and bolt them to the rafters (I probably have the details wrong), something Travis says, "Would have been good to do before you put that wallboard up," but we are just figuring things out as we go, so apparently we like to do it the hard way, haha.  
Travis is painting those boards above and fixing the fascia and soffits on the outside of the house (the area right under the lip of the roof) so that gutters can be installed. He is painting them white with Kilz, and it's making us excited to have the whole house white when it's finally painted! Here he is working on the fascia:

That's all for now! 

Monday, November 13, 2017

Bathroom Plan!

Well between my last post and this post, we sold our house, packed it up and moved all of our belongings into storage, and we are now living in the basement apartment of Matt's parents!

I'm really excited that we finally have a bathroom plan for our master bath (which will be the only full bathroom in the house). The room that we are turning into a bathroom was the original kitchen in the house. So while it was a small kitchen, it will be a really big bathroom! However, it is a little odd-shaped, with two windows and a diagonal wall on one end, so it made designing it a challenge.

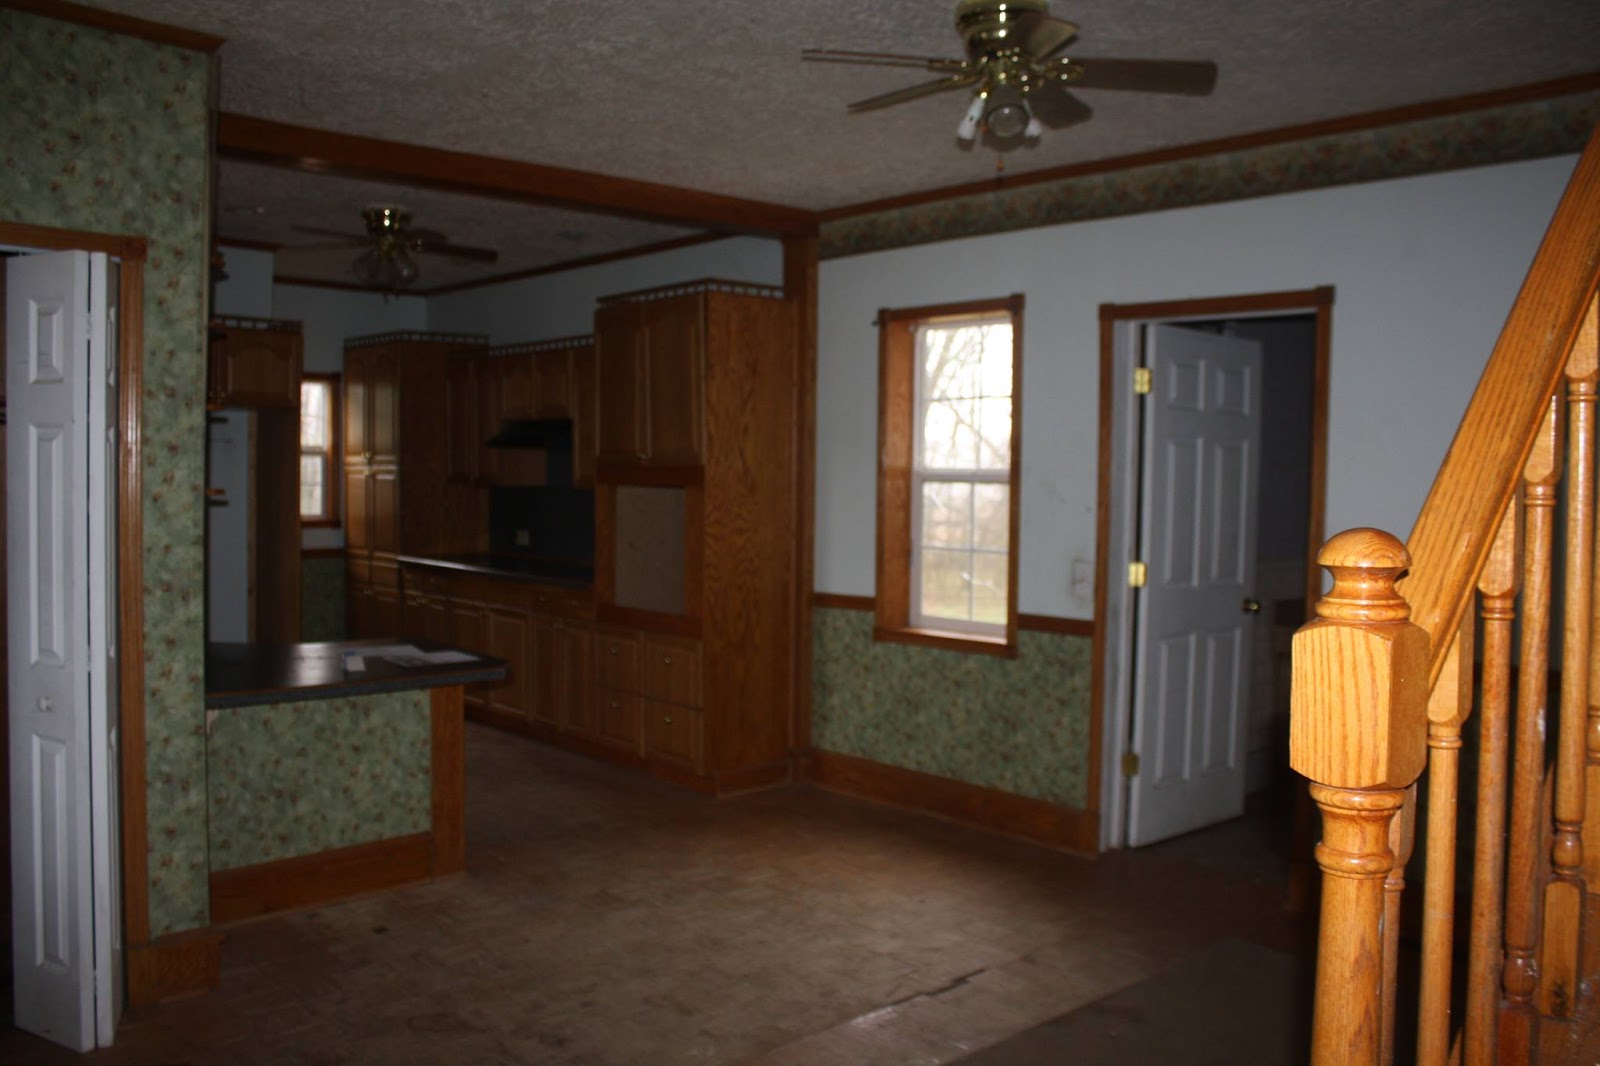
Here are some photos of the bathroom when we first bought the house!

This first one is the door from our bedroom into the bathroom:
When you enter and look to the right:
 Then if you stand over by the windows you'll look back and see the door on the left, and a weird doorway to the right, that was probably an exterior door. This door on the angled wall leads under the stairs, which will be another half-bath. We will put a wall up just inside this door, and use it as a linen closet.

On this wall, between the linen close and the window, will be a space for a bathtub, eventually. All we need is a shower to move in, and we're building a separate shower to the right of the window.

Along this wall, under the mirror will be the sinks and the vanity. In the corner on the left, will be the toilet, so that the vanity will partially hide it. The toilet will sit right next to the window (hi neighbors!) Where I'm standing while taking this photo is basically inside the shower.

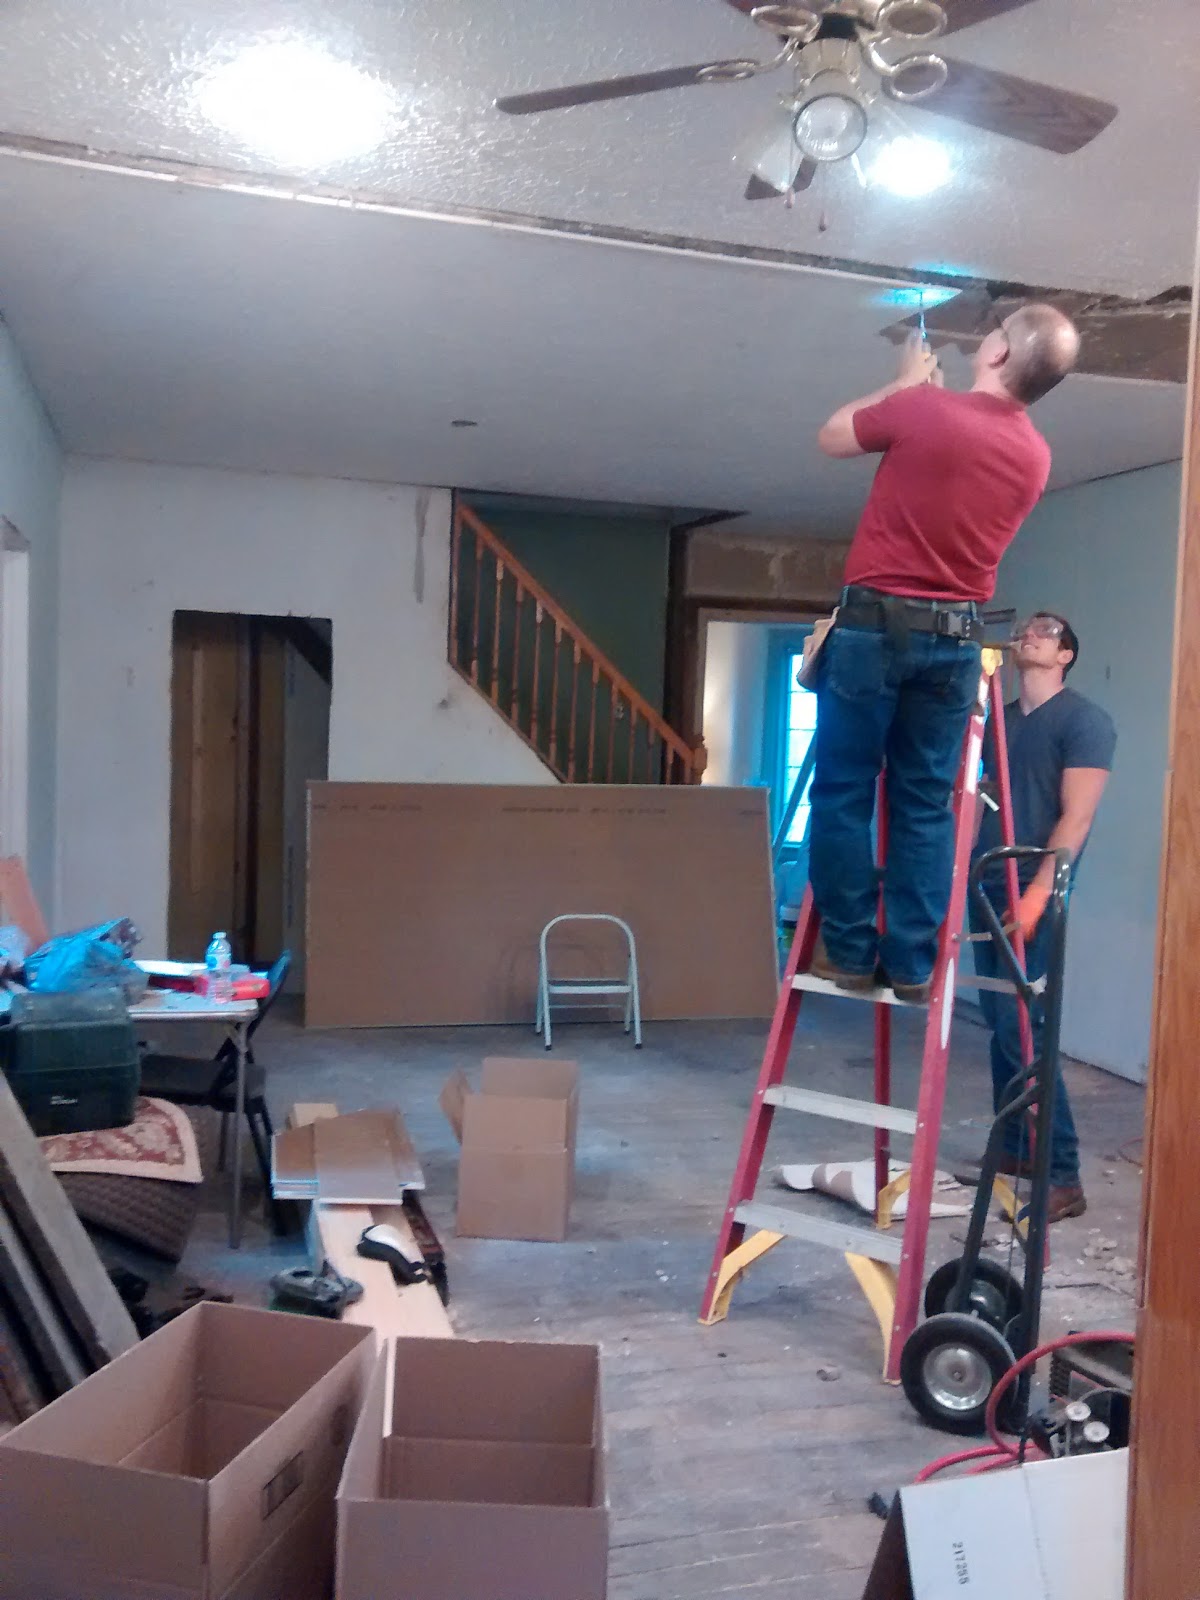
 Now here are some photos from a few days ago. Sorry about the storm windows that are being stored here, and the piano bench/tv stand I'm using for props. The toilet will be thrown out - we removed it from the old bathroom (which will soon be a laundry room) and it is gross, but we're just using it to "visualize" the room better:


 Here you can see that the piano bench and the tv stand are where the vanity will be:

So this window was originally going to be glass block - we thought the shower would go here. However, the guy installing one of our front windows accidentally put it in here. We hadn't completed the bathroom design, and we didn't want to re-design it based on someone's mistake, but we actually came up with a better plan once we considered how nice the window looked. We are replacing the bottom pane of this window with obscure glass. The view is so nice that we're going to leave the top pane clear:

This is the part I'm really excited about. Those storm windows are leaning on the wall where the tub will eventually be, and the shower will be to the right of the window. However, the window was originally a door -- and we're going to turn it back into an exterior door. Weird to have an outside door in your bathroom you say? Yeah, it's weird, but consider this: The door will face the backyard, and we have plans to build a low deck around the back of the house. The backyard is super sunny and we hope it's a neat outdoor living space in the warm months. SOMEday when we don't have 3 kids in college, we are hoping to put a hot tub right outside of this door, in a little private alcove. So now the exterior door makes sense. Outdoor hot tubs in Michigan are sometimes under-used if they're awkward to get to. Who wants to run cold and dripping through the house to get to a place you can change your clothes? But having a hot tub so close to our bathroom, you could slip right in, toss your suit into the bathtub and wrap a warm towel around you! This is most likely several years down the road, but that's one big challenge of not having a lot of money right now -- we want to make long-term decisions now, instead of having to re-do them later when we think of it. Matt has already found the door at Home Depot - it is a one-paned exterior door (big window) with a draw-able shade housed inside the pane.

Here is the corner to the right of the door, and those tape lines will be the shower. It's not a huge shower, but it should be long enough to be comfortable.

To recap - exterior door on your left where the window is, then shower, then toilet, vanity on the right wall:

I'm so happy to have a plan!!

Tuesday, October 17, 2017

New Windows!

The windows are all up in the 2nd story - having trouble finding "before" pix, but here is one of them -- most of the windows were aluminum, or like these wooden windows below, with broken panes. Most of them were super grody and covered with plastic to keep the critters out.


James and I pulled up the carpet, and I've been mopping up cat pee from the floor. Beth peeled a little paint to reveal at least one layer of wallpaper to the left of the windows. Yes this is the after photo, and you'll have to use your imagination, but the windows are definitely sealed! Now for some Kilz, and to paint the floor as well until we have the money for some new flooring.

Some more "afters" - if I can dig up more befores of the windows I will stick them in here:


Monday, August 28, 2017

The Closet Comes Down and the Kitchen Opens Up!!

Matt told me that he and Ron needed to secure those white wires below, so that they weren't just dangling. I said, "But we're taking this closet out, wouldn't it be better to run those wires above and down into the exterior wall?"  Matt is so great. He just blinked and said okay! They had to tear out the paneling and cut away at some cement board on the wall to the left in order to make a place for the new outlets that would move from where Ron has his hands right now to the outer wall.


You can see behind the ladder where Matt cut a square for the outlets to go.

So the girls figured why not start tearing this wall down?

James got in on the action:


Beth saved these boards for a future project...

And now back to the other side of the wall to remove the dishwasher and the lower cupboards:


Grandma and Grandpa Cryderman came over to help!


Before:


After: