Saturday, February 24, 2018

Front Room Wall


Here is Kara back in the summer - she tore up all of the flooring in the front room. That doorway leads to our bedroom, which we've determined was the original dining room. First we tore off all of that green paneling.


We discovered a wall of plaster - badly cracked and painted pink. Here you can see where I've patched, but I want you to notice on the left, the outline of a door, and to the right of the actual door, the outline of another door. We believe that on the right, the existing doorway was much wider - an opening so that the front room extended into the dining room beyond. We could see clearly a bad patching job where new plaster was used to fill it in. The doorway outline visible on the left, we believe was another door into the kitchen (which will now be our master bath). My job, with the Durabond, was to go over these uneven parts in the wall and fill in, so that the wall would be smooth and so that hopefully once we paint, you won't see the old outlines of doorways!


Here I am evening out the old doorway outline on the left. You can see, in the bottom right hand part of the photo, a large crack that I filled with Durabond - a dry mix compound, that hardens after mixed with water, by a chemical process. It dries hard, like cement. It is NOT plaster, but if you wet the plaster underneath, especially broken parts inside a crack, it will seal better to the plaster. You don't want to use regular drywall joint compound to do this patching, as it won't be as hard, and it won't adhere as well to the existing plaster.


I used a 6 inch knife to do all of my patching, as well as the skim coats. I tried...and tried and tried to master a trowel. I have evidence in the closet wall that I practiced on. It's supposed to go on smoothly. When my cousin Joann saw it she said, "Oh, are you creating some kind of texture on this wall?" hahaha - so no, I didn't quite master the smooth application of an expert troweler. That is a real skill for which I have great respect.


After the patching, I knocked down all of the bumps and ridges (hey with the edge of my expensive trowel, at least I am using it still!), and applied a thin coat of joint compound with the 6 inch knife. I was pretty pleased with the first layer, but, still working on my technique, I was discouraged that I STILL laid down ridges. Joint compound is softer, so I knew I could sand, but it was bugging me. I knocked down THESE ridges, with the trowel again, and it looked pretty good, but then I did my second layer of a skimcoat, and this time I thinned the compound quite a bit. (You can't "thin" Durabond, because once the chemical process of hardening starts, it will mess this up and change the mixture - but you can thin joint compound with water, because it dries with the air, and not through a chemical change if that makes sense).
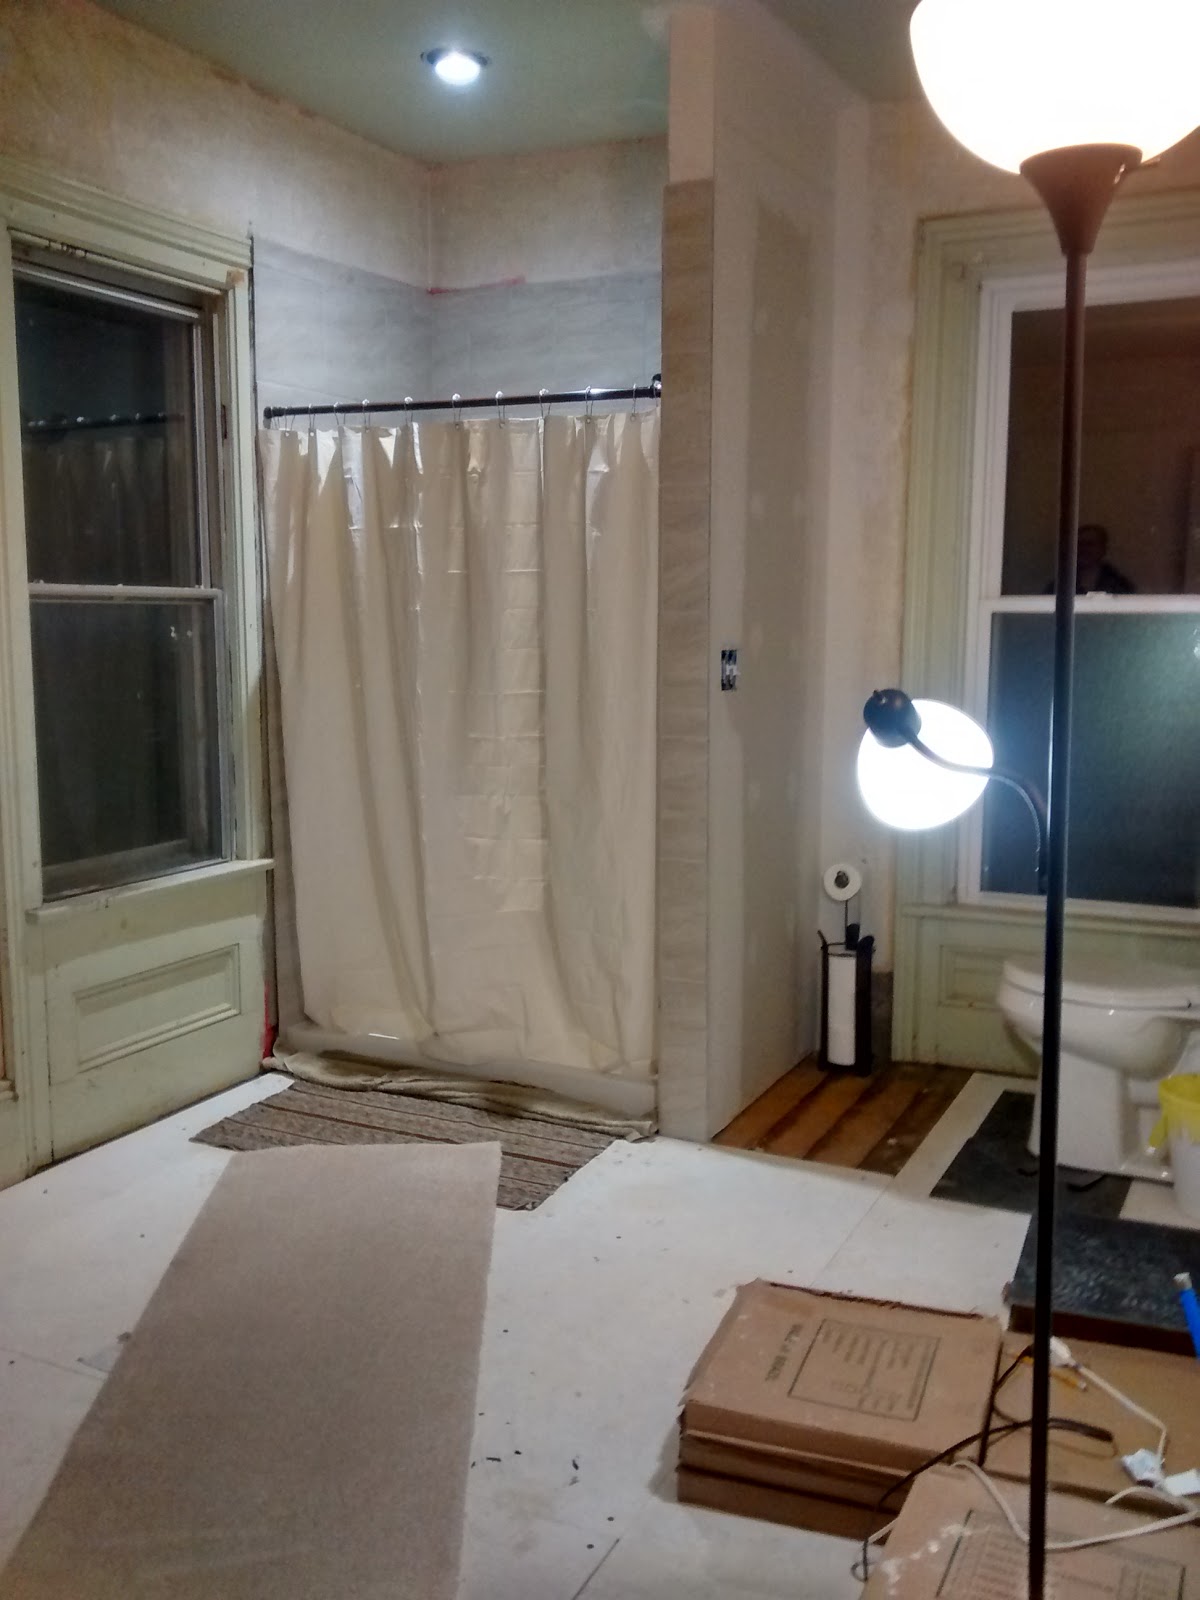
Anyway, the thinner compound was way way easier to work with, and I managed to lay down a very smooth application. I was super proud and kept telling Matt what a great job I did, haha. I do have to sand it still, but you have to look really closely to see the imperfections.

And here we are with my beautiful wall! Next I prime it, and then paint it!

Before:

After:

Fun!

Monday, February 12, 2018

We Have A Shower!!!

We finally moved into the house, because our construction insurance ran out, and we needed to move in, in order to get regular insurance. We had two working toilets, a kitchen sink and no shower. Every night for almost 3 weeks, we have been driving into Spring Arbor where both sets of parents live, to take showers and do laundry. It was so nice of them to let us, but sometimes after a long day it was really hard to get into the car to drive all the way there just for a shower! The nice part of it was just getting to visit with our parents and touch base with them regularly.

This past week, Matt put the finishing touches on the shower and we tried it out! I sang an old hymn called, "Hallelujah, Thine the Glory" throughout my entire shower. Haha, mostly the hallelujah parts, it felt so good! I was worried that it wouldn't be hot enough, but it was just right. We don't have great water pressure yet, but that is fixable, and our shower head has a setting that ups the spray pressure a bit, so it's fine. I still can't believe what a great job Matt did, building this shower from nothing.


First we had to decide where to put everything in the bathroom. This room, as far as we can determine, used to be the original kitchen. We had an old toilet, removed from the existing bathroom (that is now becoming our laundry room), and set that up, along with some benches and random furniture to sort of help imagine where everything was going to go. Along the right side will be the double vanity. You can see the tape on the ground where we decided to put the shower. As you can see, there is nothing there - no drain, no water, nothing! The window on the left will be an exterior door, something like this eventually:


But back to our existing room. Eventually I will give a before and after (once the floor/vanity/sinks etc are installed and the room is painted) but for now I'm just giving a play by play of the shower.


First Matt had to build a wall. We decided to run the pipes through his wall, and not through the existing (plaster) wall, because this way the pipes were less likely to freeze in the winter.


After Matt built the wall, the plumber drilled a hole for the drain, and installed a shower pan over it. At first the wall was just going to be this high, but then Matt decided to run the wall all the way up to the ceiling. I think it had to do with being able to wire the shower light and the fan over the toilet, but I will probably come back and edit this sentence when I know for sure, haha. You can see the toilet drain has been plumbed as well (to the right).


After extending the wall to the ceiling, Matt installed green board, and the plumber came back to run the pipes to the shower faucet and head.


After that, Matt sealed up the green board and made it waterproof by painting it with several coats of a product called Redguard. It looked bright pink, but okay we'll call it red.


Then he started tiling. Matt has done a lot of tilework on floors, and he has done a kitchen backsplash with small tile, but this was his first time working with large tile on a vertical surface. I chose this tile color because the floor is going to be black (slate), and the walls are going to be white (Alabaster). I didn't want to break up the white walls with a dark shower, or to have it be very busy. This was an inexpensive standard tile that they carry at Lowe's. We chose an offset pattern for stability and style! Matt is meticulous with his lines.


Matt had to buy a new wet saw for this job - this is not an expensive saw, and he got it on clearance, but it was way better than what we've used before for small jobs. Matt is always sad when he has to buy a new tool. 😂


Next came the grout. We took WAY too long choosing between two very very similar shades of grout - either would have looked just fine, and we're really happy with how it turned out. Sometimes it's nice to have your lines accentuated by a contrasting grout color, but we wanted to stick with a more seamless look as far as color. Like I said before, I didn't want a lot of busyness in our design. Here is Matt wiping down the grout:


I didn't get any photos of Matt sealing the grout, but he did a super thorough job, and water just beads up nicely on it. Next was a really exciting moment for me!


Finally our beautiful shower!!!


Here you can see the light that Matt and Ron installed above the shower, and then there is a fan above the toilet that you can't see. As soon as we can save up the money, we will be installing a glass shower door (with oil-rubbed bronze trim) but for now we just have a cheapy tension rod and a curtain and it works fine!

You can see above, the tile board that Matt has already put down on the floor, getting ready for the slate tiles (in the boxes). We have a "runway" of a carpet remnant that makes it nice for now to walk out of the shower. We always stuff a towel into the nooks at the base of the shower just to make sure no water gets into any cracks down there before it's sealed up with tile. (Matt has caulked it - but just to make sure).

It's a long way from this!  We[re getting there!

And just to prove that we are actually using our new shower....(this is me, super excited after being the first to use it!)